
|
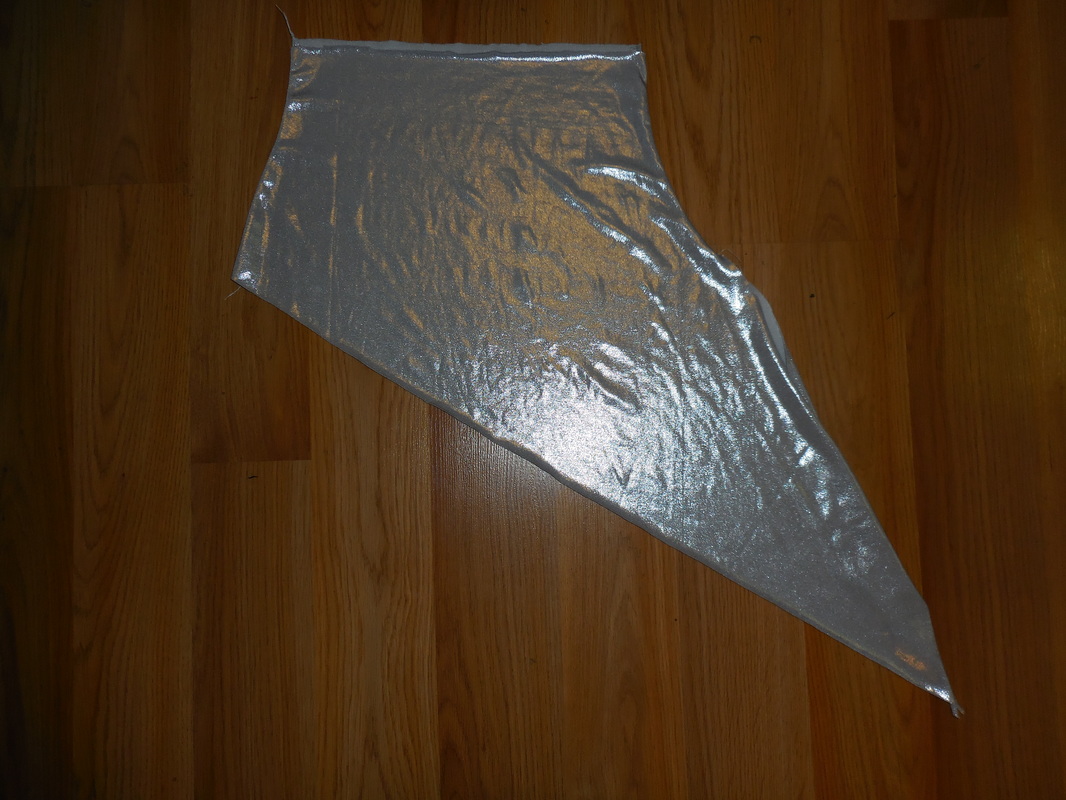
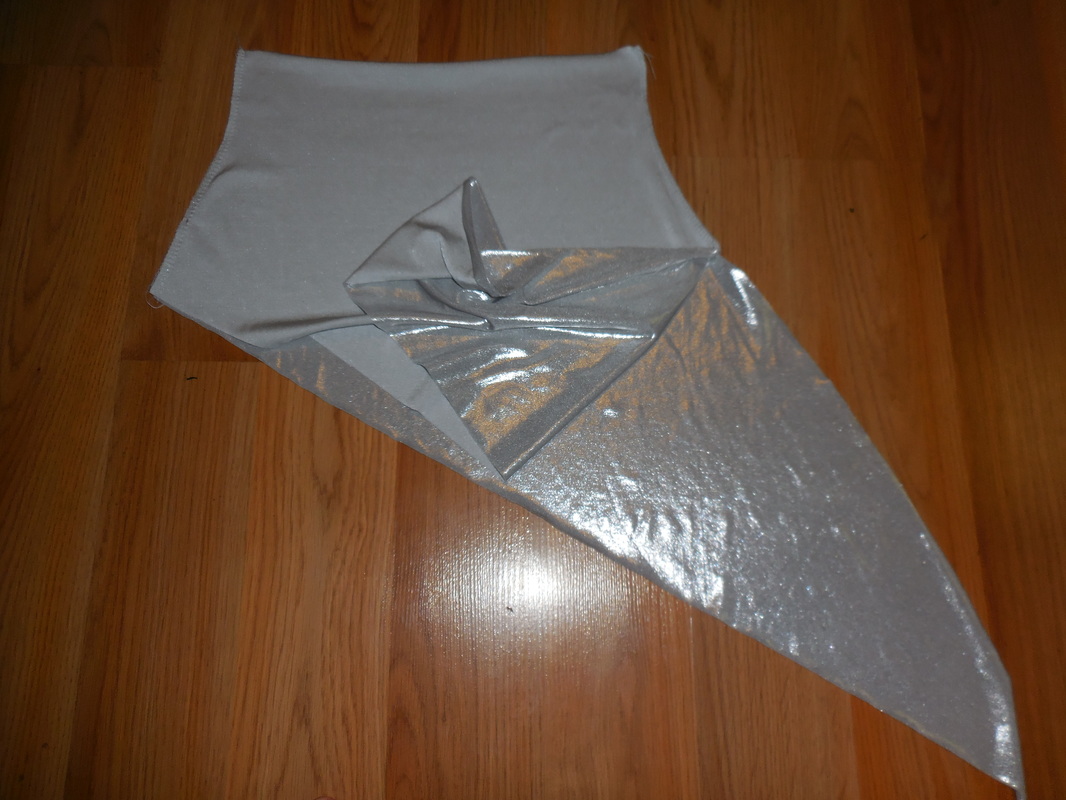
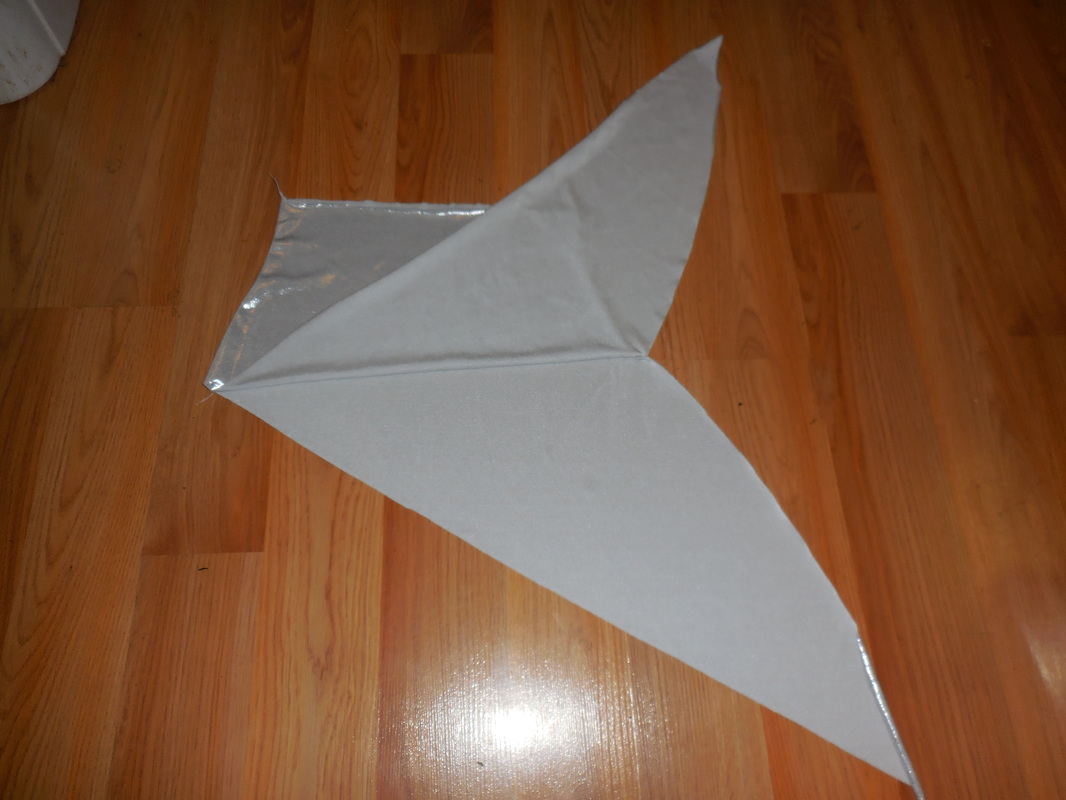
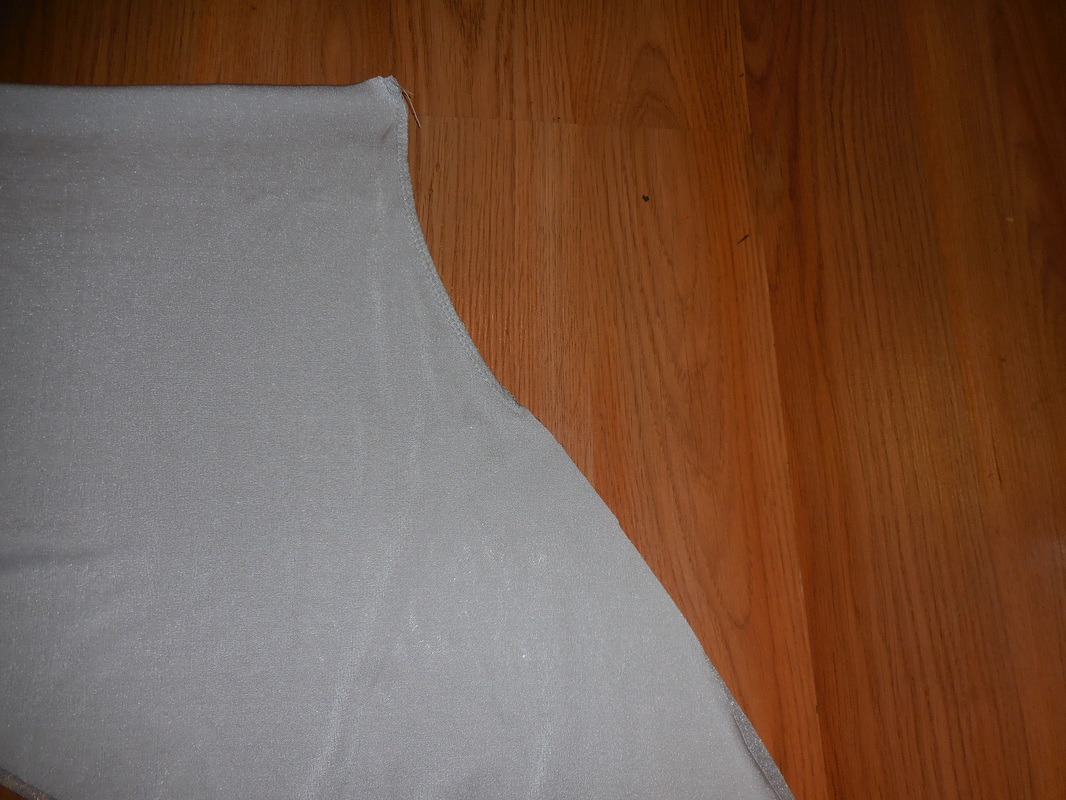
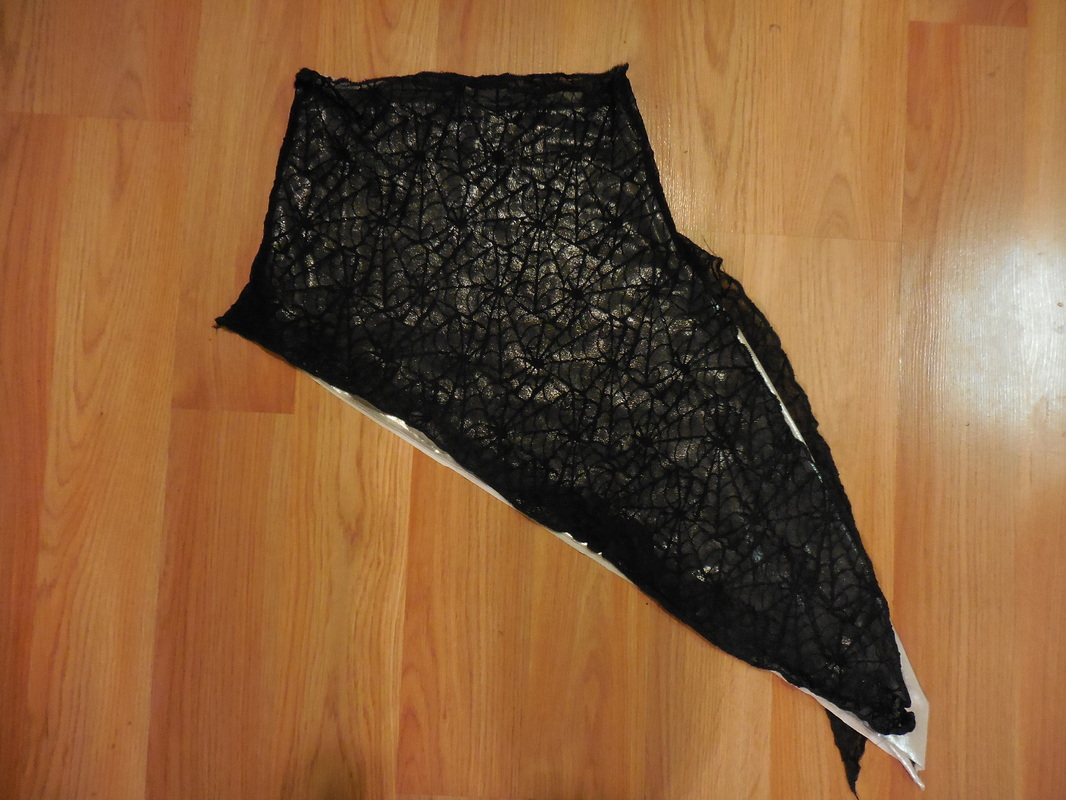
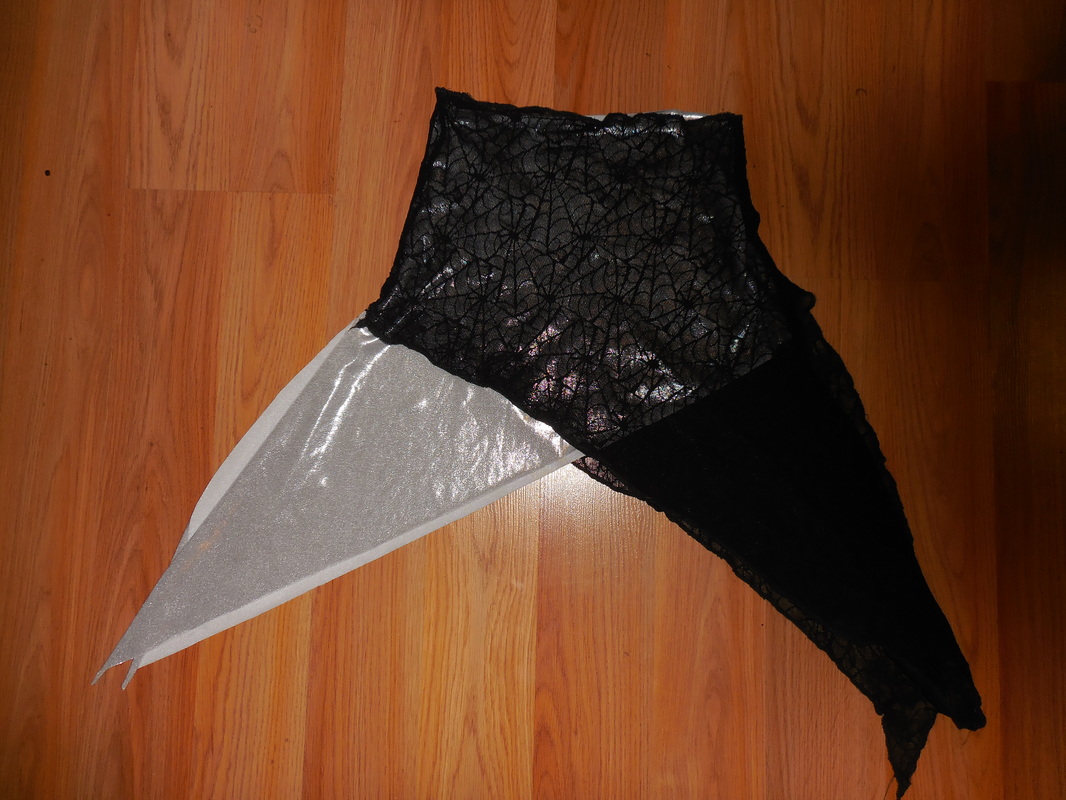
Hip scarves are a great way to add some fun to your practice wear, or as part of your performance costume to add texture or layers of color. You can find different types of hip scarves at various online stores, or even shopping for lace and knitted shawls on Ebay. But, if you want to save some money and customize your own, this is a super easy and quick tutorial that will give you a new hip scarf in 20 minutes! Step 1: Make a quick pattern. The hip scarf is basically 2 identical pieces, with each piece made up of a rectangle with a triangle on the bottom. The sizing of each piece will depend on your hip measurement, how stretchy the fabric is, and how long you want it to hang. Measure around your low hip -- the fullest part of your hip, usually around your bottom-- then subtract a few inches to account for the stretch of the fabric. (This will depend on how stretchy your fabric is—don't be too be conservative! It is much easier to take off more inches if you find it is too big than to add more fabric after cutting it off!) On tracing paper, draw a rectangle with the width measurement you decide for your hips (low hip minus x number of inches), and height enough to cover your bottom. Measure from where you want the top of the hip scarf to sit on your hips (called your upper hip measurement) to how far you want it to cover. Remember—you are naturally curvy, so if you want to make the top of the scarf to cover your whole bottom, make sure to measure over the fullest part of your backside. Then draw a line at a slight diagonal coming out from the bottom corner of one side of the rectangle. Then draw a line from the bottom of that line to the other bottom corner of the rectangle. Your pattern should look something like the image below. Alternatively you can have the bottom part of the rectangle flare out slightly and the point of the triangle extend slightly out to the side at a diagonal depending on how wide your hips are. 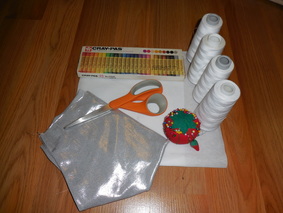 Materials: Fabric- either 2 or 4 way stretch Serger Matching thread Tracing paper Fabric scissors (or really sharp ones) Sewing pins Chalk or craypas 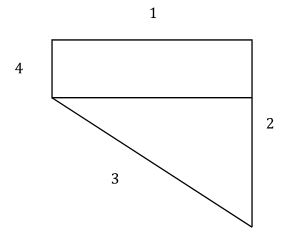 Step 2: Prepare your fabric! Trace around the pattern using chalk or a craypas, then flip the pattern over and trace a second piece. Cut out the two pieces of fabric. You could also fold the fabric before tracing and cutting, so that you would cut through both pieces of fabric to create two sides of the pattern. The image on the left below shows what the cut fabric will look like if you slightly flare the bottom edge of the rectangular part that goes over the hips. Step 3: Finish the edges. Serge sides 1-3 with a rolled hem on each piece separately. Step 4: Sew sides together Lay the two pieces on top of each other, with the right sides of the fabric facing each other on the inside as shown in the right hand image above. Some fabric won’t have a clear outside and inside, but others will be important to have the part you want seen when you wear it to be on the inside. Pin sides 2 and 4 together. Serge the scarf together using a 3 or 4 threat overlock stitch, as shown in the right hand image below. Sew sides 4 together. Sew sides 2 together only to where the rectangle part ends and the triangle begins so that it is held together over your hips by the same amount as side 2, and the triangle part is open and flowy. The triangle part has been flipped up in the left hand image below to show approximately how far down side 2 is sewn. Step 5: Try it on, and make adjustments. Turn the fabric inside out, so the right side is now on the outside. Step into the hip scarf and see if it needs to be made smaller. If so, turn the fabric inside out again and serge along side 2 and/or 4 to make the width smaller. Step 6: Final touches! Fray check the edges, and get ready to dance! Styling options: 1.) Make one in a bright or sparkly fabric and one in a lace or net to wear over it as in the left hand image above. 2.) Make 2 in complimentary colors and wear them with the triangles on opposites sides of your hips to give color contrast as in the right hand image above. 3.) The same pattern can be used as a top if you consider the waistband part to the the underbust portion and tie the two triangle ends over one shoulder. Felicia and I are wearing layered silver and grey triangle hip wraps with grey tops over silver halters below. 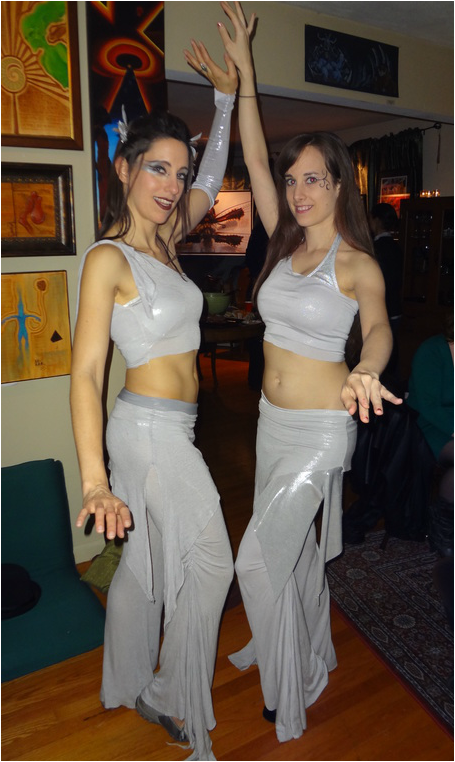
0 Comments
Your comment will be posted after it is approved.
Leave a Reply. |
SahinaMy adventures in dance, music, costume design...  Categories
All
Archives
January 2020
|
 RSS Feed
|
|
Sahina Bellydance | sahina@sahinabellydance.com
Amherst MA 01002 | Easthampton 01027 | Northampton 01060. All Content Copyright Sahina Bellydance 2010-2024. All Rights Reserved. |
