|
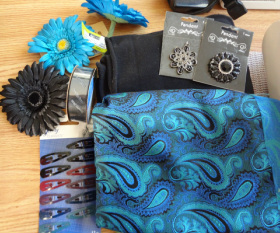
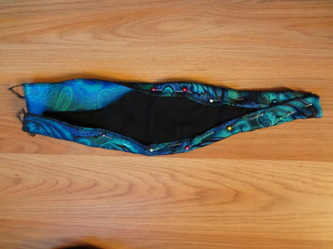
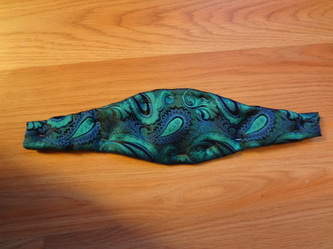
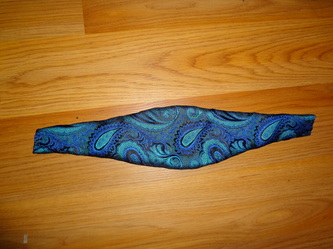
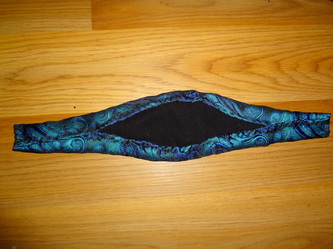
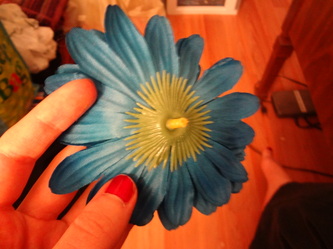
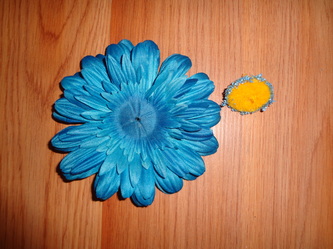
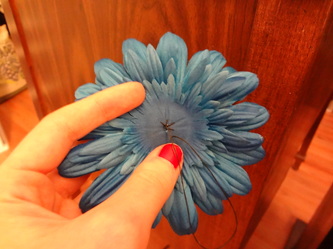
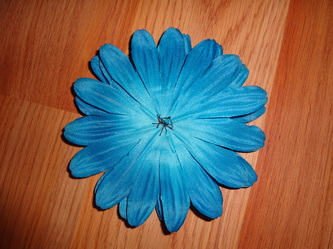
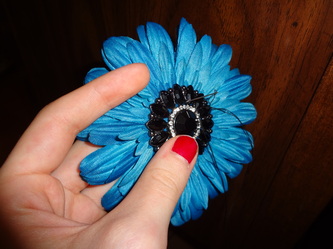
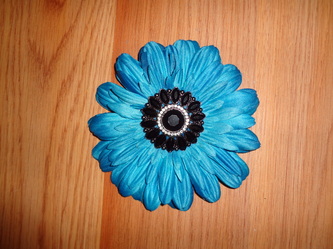
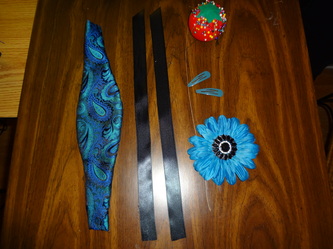
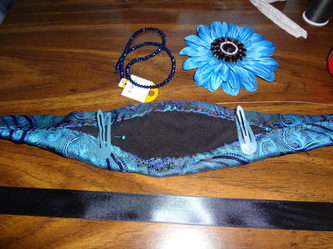
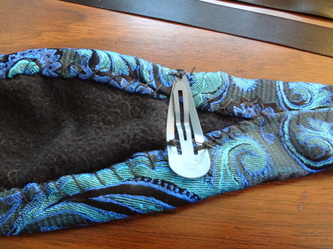
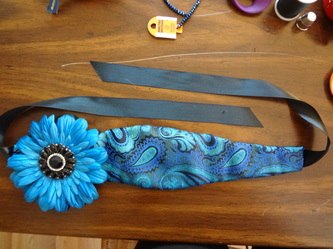
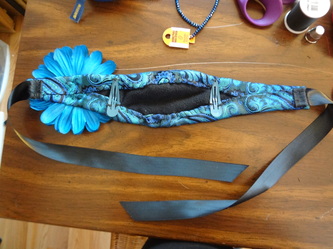
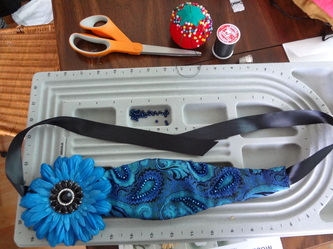
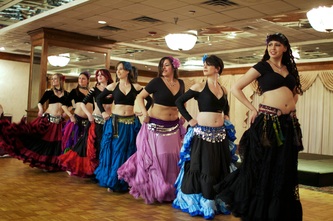
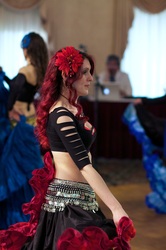
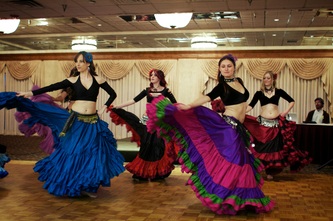
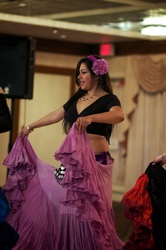
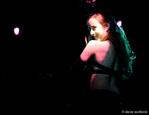
Preparing the Base Measure how long and wide you would like your headband to be. I made mine to stop just behind my ears. I also wanted a wider surface on the top in case I use it for sword balancing. My dance partner Felicia made me a beautiful headpiece for a sword dance we perform and she lined it with fleece which completely alleviated the head pain swords can cause for me. Cut the fleece in the shape you want to the measurements you just made and hold it up to see if it looks the way you want. This will be the base for the rest of the headpiece. Your headband may need darts in the back to help it conform to your head and not stick up in the back. Cut cover fabric with about a ½ inch seam allowance to cover the fleece. I used brocade for mine and serged the edge of the cover fabric first. Pin the cover fabric to the fleece and sew around the edges. This step can be done on a machine but I prefer hand sewing so mine was hand sewn. Preparing the Flower I found a long stemmed fake flower at Michaels that matched my headpiece fabric and costume perfectly. The flower is usually just held to the stem by a short piece of plastic that comes from the center piece of the flower so the stem can just be popped off. The plastic bit that held the stem on won't allow the flower to lay flat against the headpiece and we are going to switch out the center for something more sparkly anyways, so pop the center part of the flower out as well. Now you have the petals remaining. The centerpiece is usually the only thing holding the layers of petals together so you will want to sew the petals together before attaching the new centerpiece. When the petals are sewn together attach the new centerpiece. Pendants or brooches work well for this, but you could also use store bought or homemade appliques. My costume is black and teal and I found a black rhinestone pendant in the shape of a flower to go with my teal flower. I'm pretty excited about it. Adding Fasteners Cut two pieces of ribbon long enough that they will overlap the headband by ½ inch and still be long enough to tie under your hair. Sew these to the two end points of the headband. I used satin ribbon for mine, but it is a bit slippery. I might try organza next time. Depending on your cover fabric you can also use hemmed strips of that fabric as ties. When Felicia first taught me to dance with a sword, one of my fears was not that the sword would slip off my head but that the sword would be perfectly balanced on my headband and the whole darn thing would slide off the back of my head with the sword on it. Felicia taught me that using hair clips sewn inside the headband would ensure that did not happen and sure enough it hasn't. So I recommend adding two hair clips in addition to the ties for extra security. They are positioned one on each side of the headband facing so that when you push it back from your forehead they latch to your hair. I chose teal ones for mine and got them at Target. I know they won't show, but I like knowing that they match anyways. Assembling and Embellishing Now all that is left to do it attach the flower. Try your headpiece on to decide on flower placement. I put mine slightly above my left ear. Jericha uses hot glue to affix hers, but I sewed mine. Add beads or any other decorations you want and then you are done. I ended up beading mine following the paisley pattern of the fabric. It will mean that it is not usable for sword balancing, but it added a little extra sparkle. My skirt dance students used this tutorial to make their headpieces for the Dancing into the Light student showcase. Here are some photos.
4 Comments
|
SahinaMy adventures in dance, music, costume design... Categories
All
Archives
January 2020
|
|
Sahina Bellydance | sahina@sahinabellydance.com
Amherst MA 01002 | Easthampton 01027 | Northampton 01060. All Content Copyright Sahina Bellydance 2010-2024. All Rights Reserved. |

 RSS Feed
