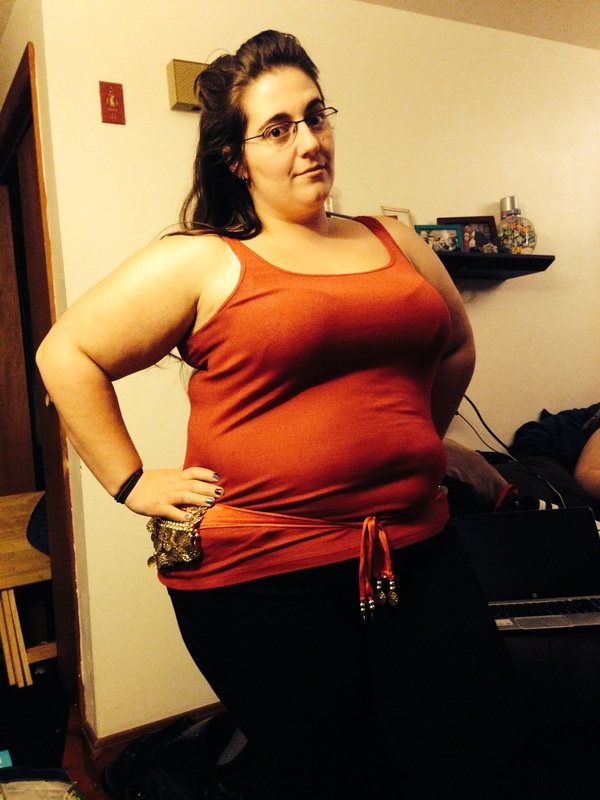
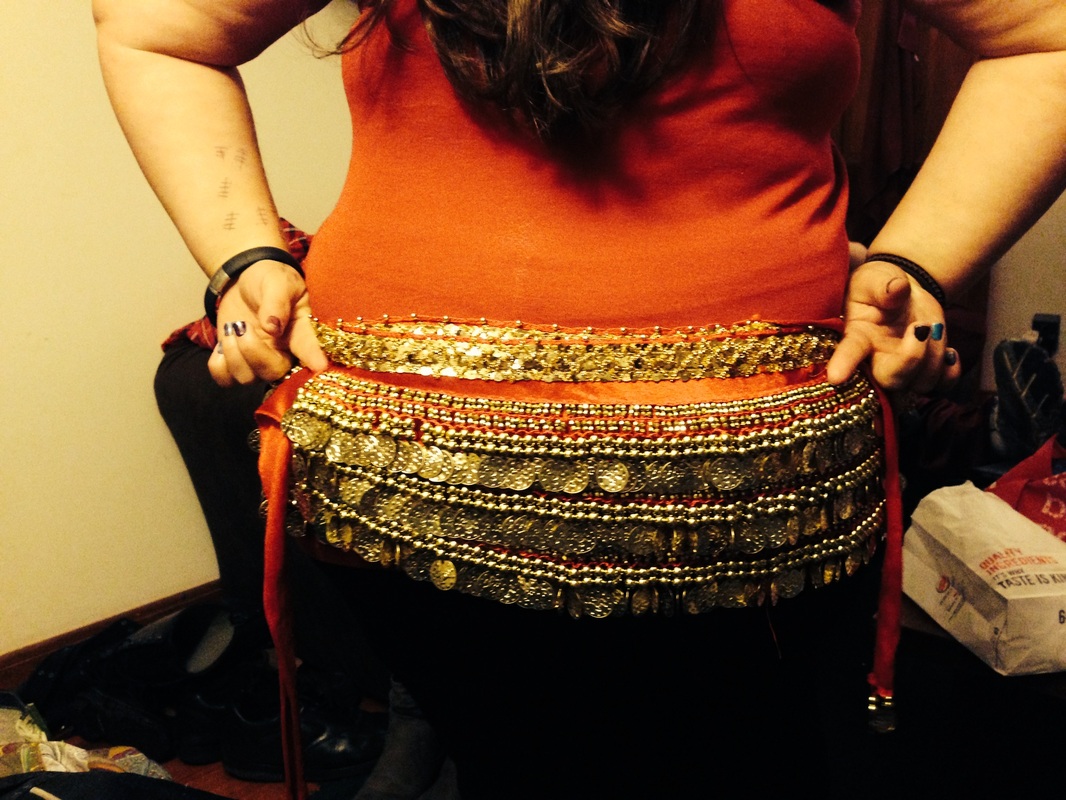
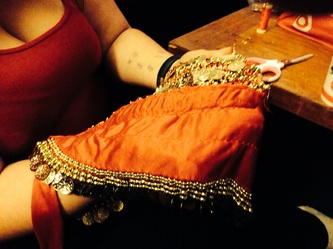
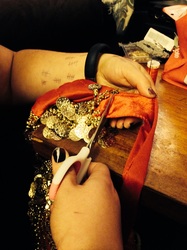
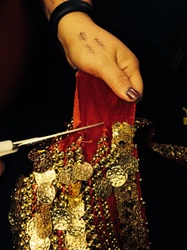
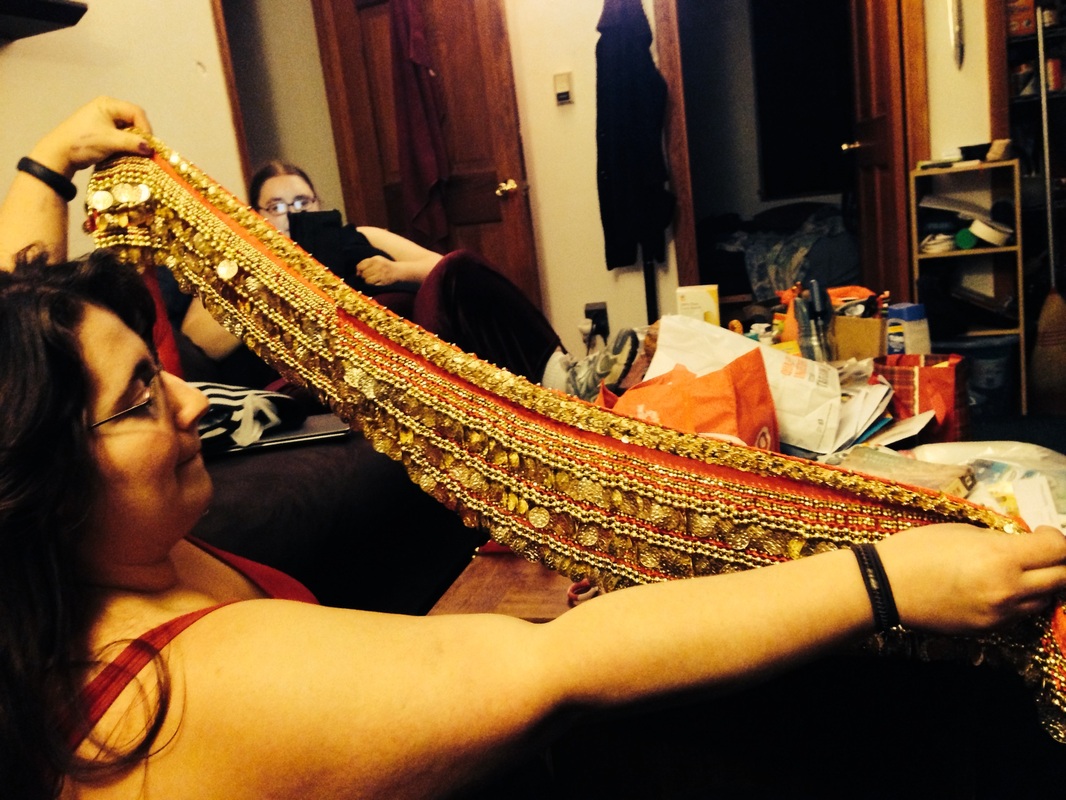
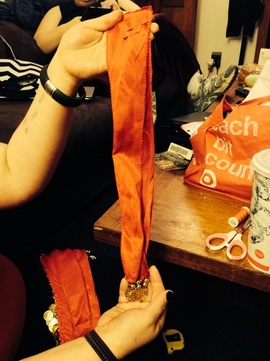
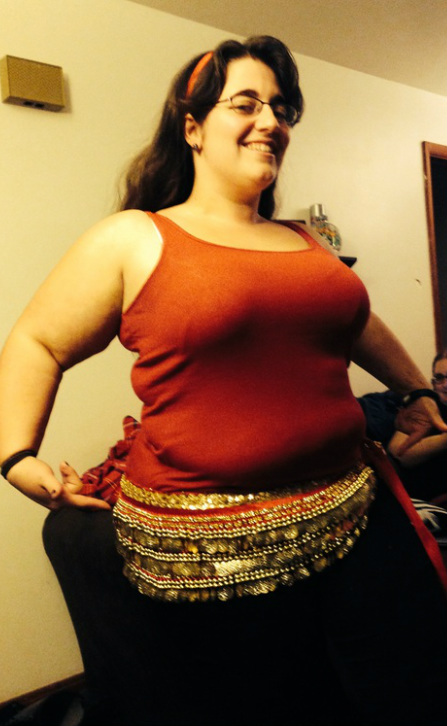
1. Acquire 2 velvet hipscarves. (I've tried the chiffon, but the chiffon takes a lot more work because of the material. It is not very forgiving when it is cut. If you do decide to use the chiffon, make sure you use plenty of Fray-Check.) 2. Place the hipscarves on your hips to see where they line up. You'll want to make sure there's a small gap (about an inch) because once you start dancing, I find that it stretches out a bit (or the knot loosens up) and tends to fall off. Pin the hipscarves together where they overlap. I like to make sure to pin them together at the part where the ties start. 3. Take off the hipscarves and inspect the lines. Sometimes, there are extra decorations and you'll want to line them up as much as possible. The idea here is to make it look like one single hipscarf, not two. 4. I hand stitch these because the area is so small that it would take longer to pull out the sewing machine. a.) Typically, I like to do a basic stitch just under the upper band because it doesn't show as much and will still allow for the coins to move around. b.) Then, I do a quick whip-stitch on the top to help keep things looking neat and tidy (the only bits that I want flopping around are the coins!) Click for larger images and captions: 5. Carefully, remove two of the ties so that you are left with just the normal 2 ties. I try to cut right under the coins so there is no extra velvet hanging out. Save the ties to a make a matching headband! 6. Inspect to ensure that everything is the way you want it to look. It's best to find out now while you still have everything out. Try it on, make sure it's not going anywhere.
6 Comments
|
SahinaMy adventures in dance, music, costume design... Categories
All
Archives
January 2020
|
|
Sahina Bellydance | [email protected]
Amherst MA 01002 | Easthampton 01027 | Northampton 01060. All Content Copyright Sahina Bellydance 2010-2024. All Rights Reserved. |


 RSS Feed
